
Here's a WIP build that's been a long time coming.This was for a display piece for last year's 2011 GBWC. The objective is to detail it up like Jap maestro Keita's MG SF. So here goes:
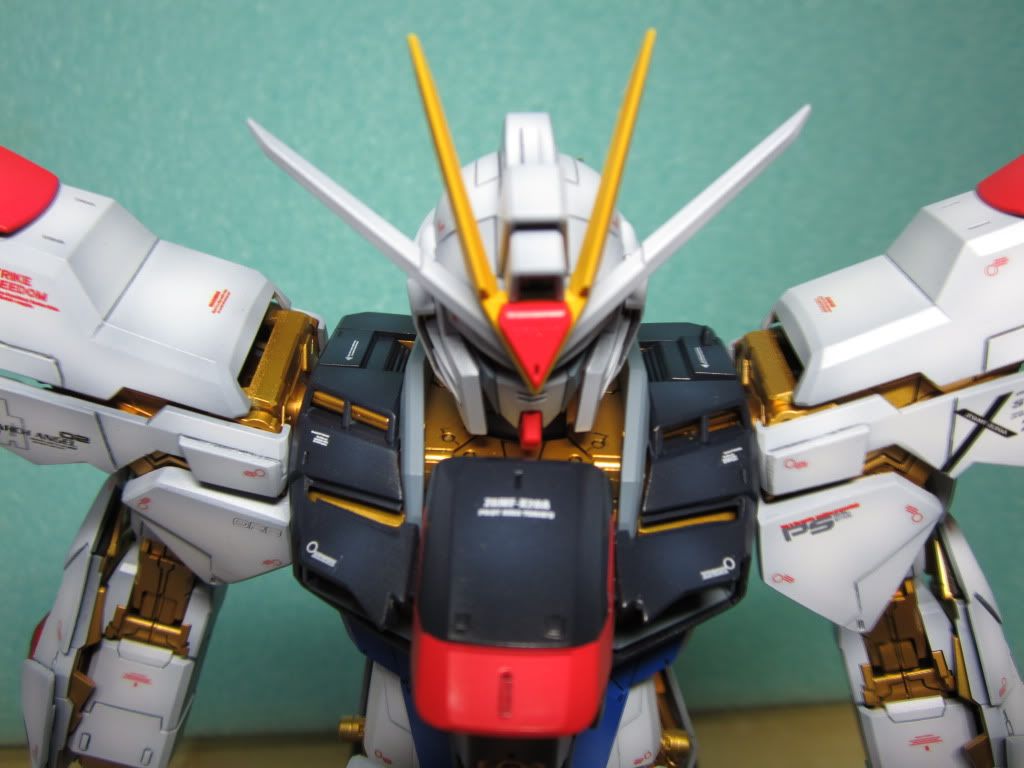
The first thing I did was to open up the vents you see on the chest armour, and give the torso more bulk and detail. Next, I beefed up the forearm armours using pla-plating:
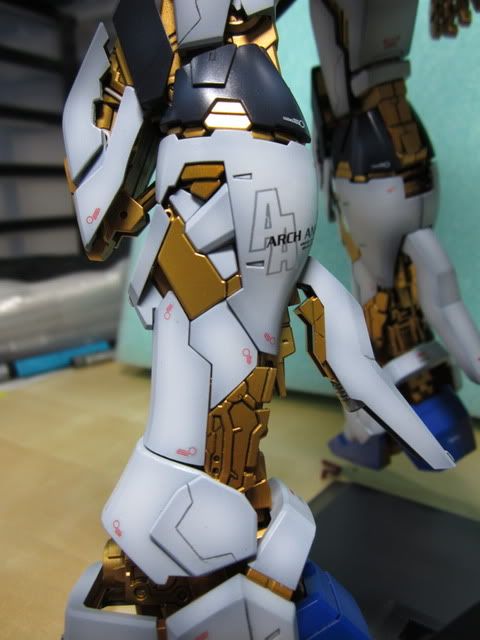
I went all out on the pla-plating, beefing up the shoulders as well. Sorry guys, if the pic quality isn't so good. These are uploaded from my phone few months ago before I started blogging. :P
Once the torso is done, I had a rough idea of the overall proportions. That's when you know how much more to elongate the feet. I didn't like the original feet of the PG SF. To be honest, the feet of most PG kits are rather bulky instead of sharp and streamlined like their MG counterparts, probably to hold up all that bulk.
Once I'm done with certain portions, I prime the stuff to spot for inconsistencies. Then - sanding sanding sanding. With most of the torso done and the piece coming together, this is what it looks like raw -
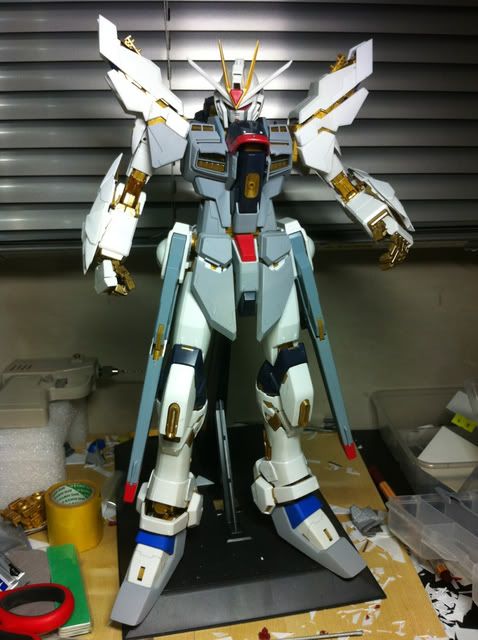
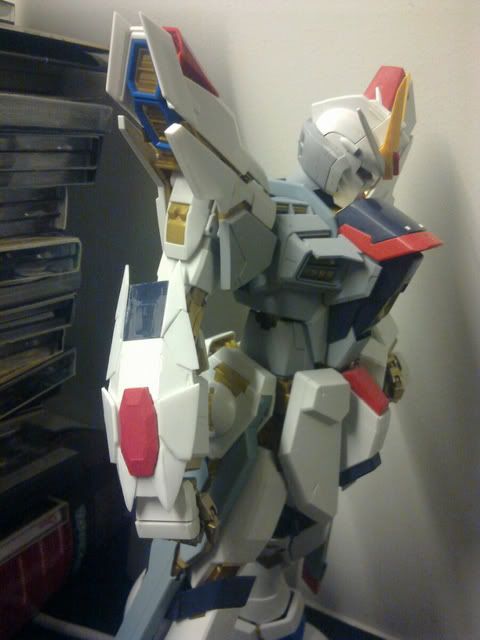
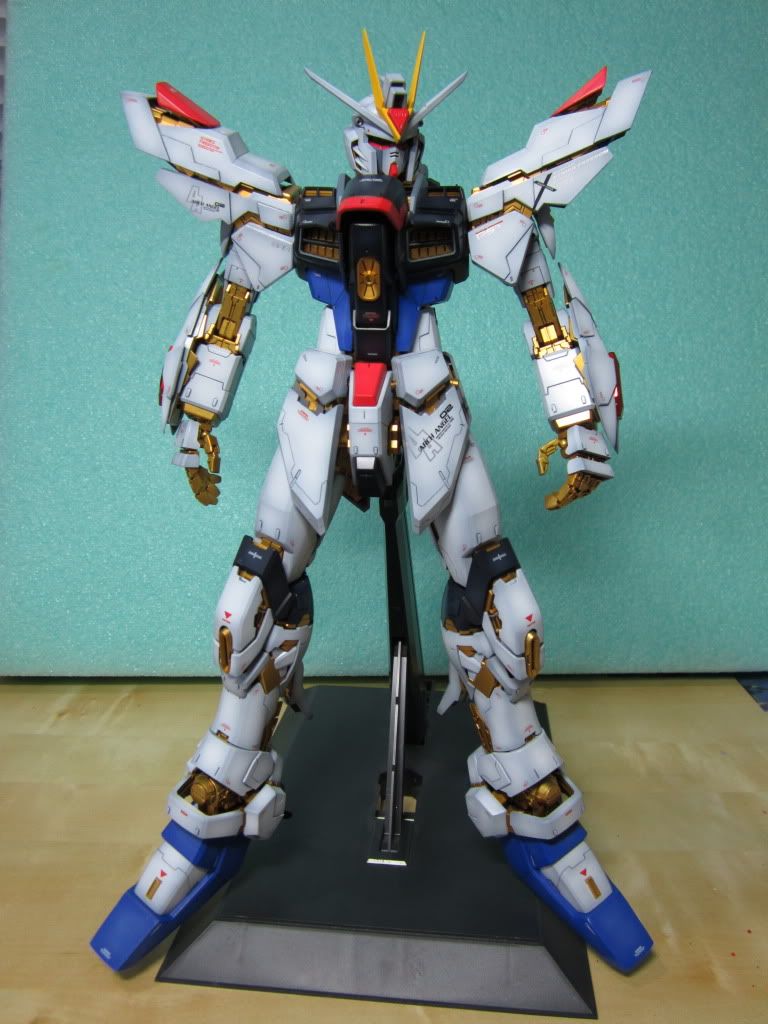
There are a lot more stuff I did (for example, splitting of the skirt armour), which you can see in some of the finished pics later. Oh and the waist is also extended, cos I found the original torso a bit stunted. I basically forgot to take pics and went straight into the fun bit - painting! After which, here is PG SF in it's half glory, without the wings (a bit on that later):
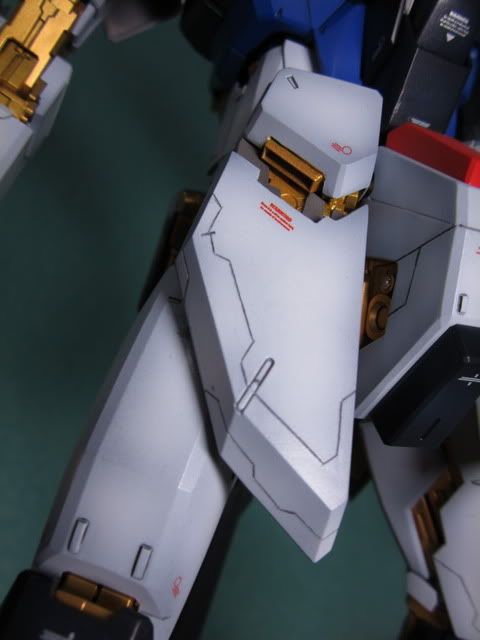
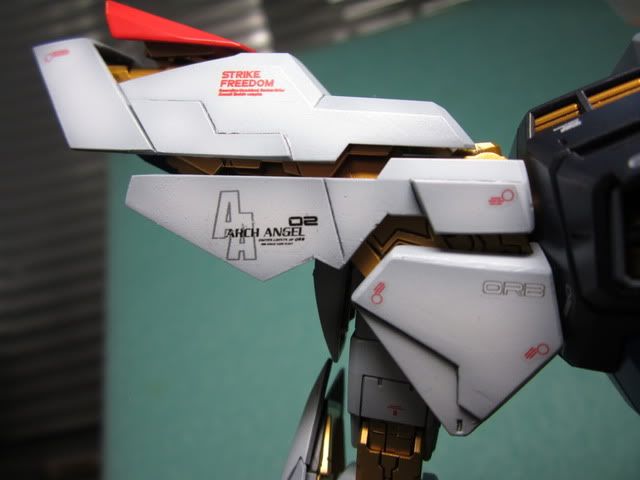
A bit of focus on various selected bits:

Sliced and diced the ankle armour for more texture.
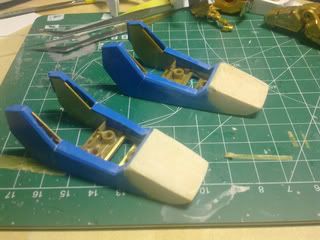
Opened up the calf armour and added some spare internal parts to bring out the gold exo-skeleton. If that back booster flap looks familiar to you, it's cos it is from the MG Unicorn!
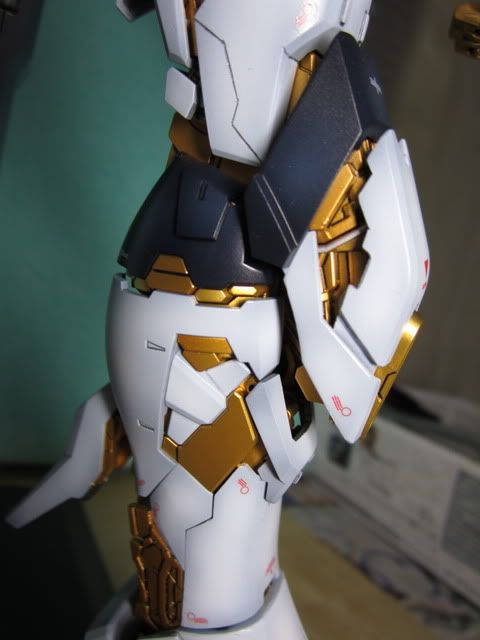
Cut up the knee armour for a more segmented and layered look, especially with the internals peeking out.
Panel-linning for the skirt armour, which is grossly bare. I cut up the top piece, added a vent and detailed up the internal with another layer to complicate.
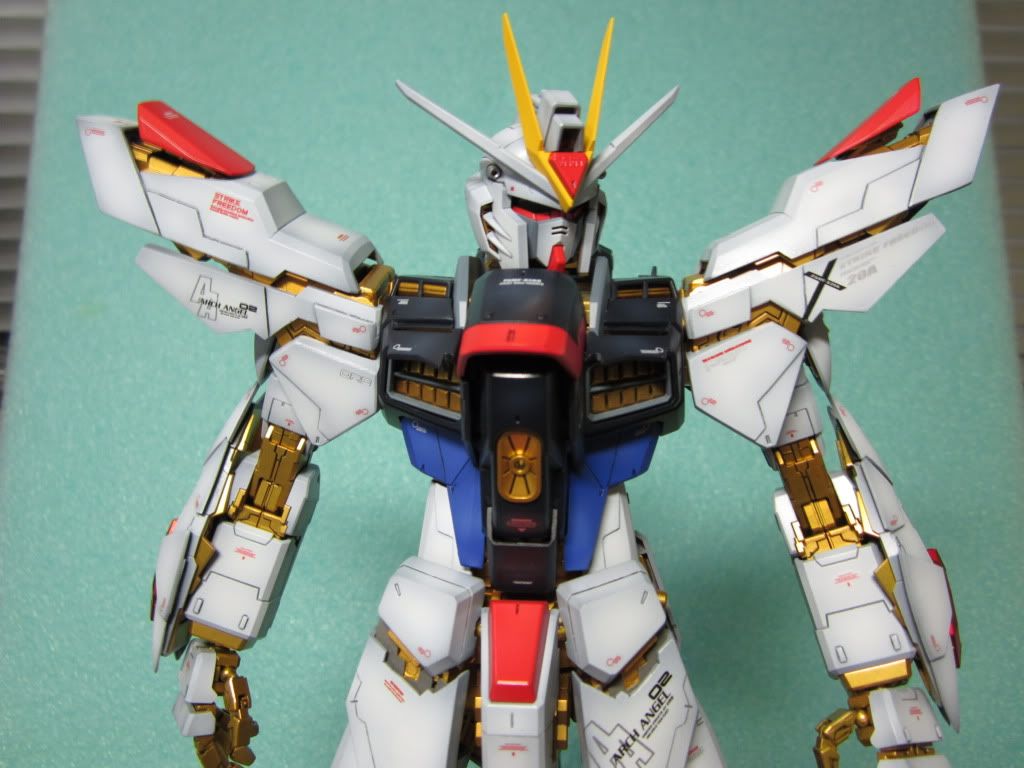
I used some fluoro gloss coat from Gaianotes, which is why you'll notice a slight blue hue to the white shading. I didn't want it to be too white. Two coats of these were used before and after decaling, before I capped it with a final flat coat for the matt finish. Ta-daaaaa:
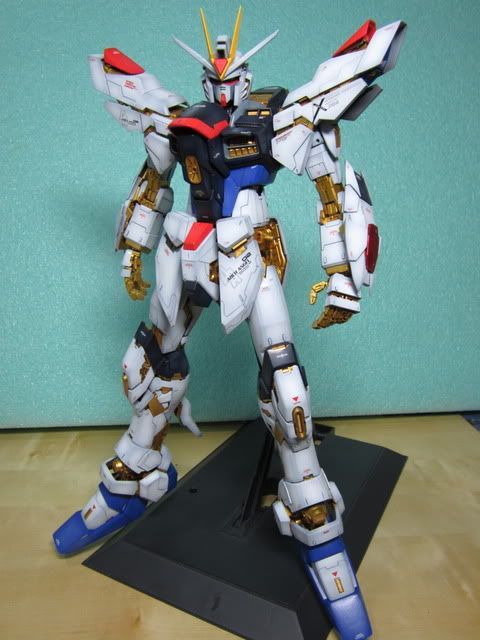
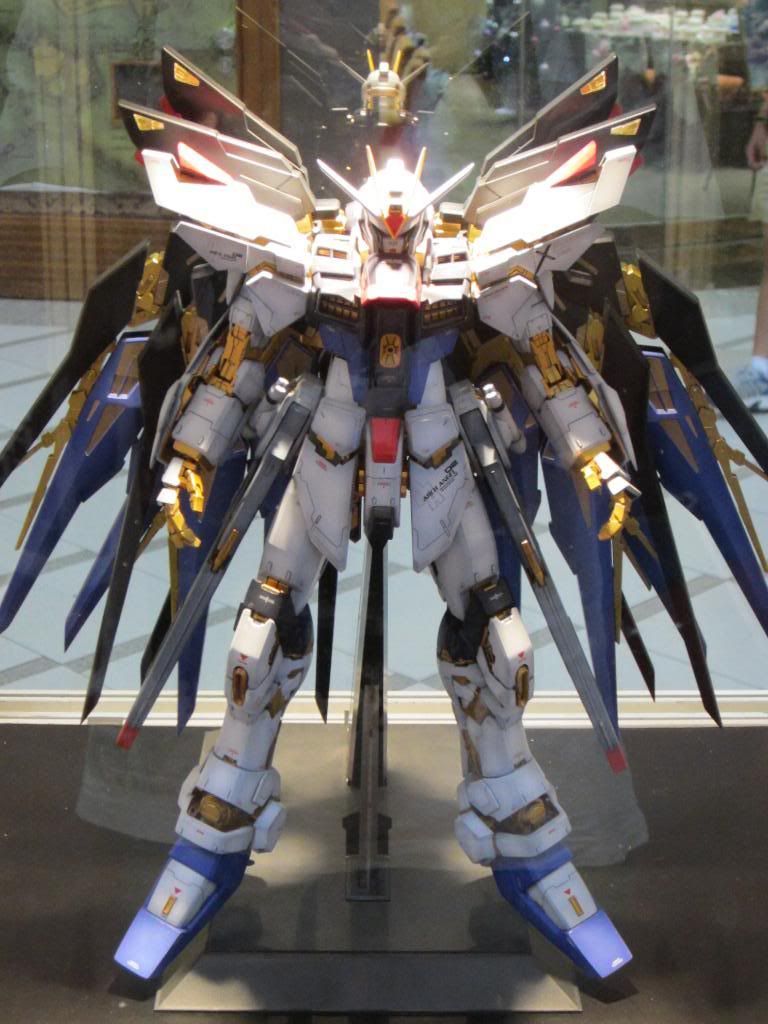
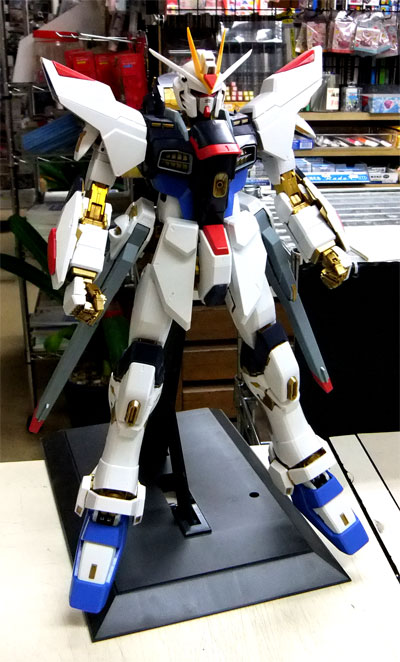
You'll notice the hip cannons and wings are awol. The entire piece is actually completed already and is stashed at Hobby Art @ Work. Wings are basically OOB. Enough work has been done on the main body for an impact so the wings don't require much work. Credit to Sam from HAG for finishing them up! I haven't gotten down to taking pics of the finished work, so till then, watch this space!
The full kit in all its glory at the 2011 GBWC:
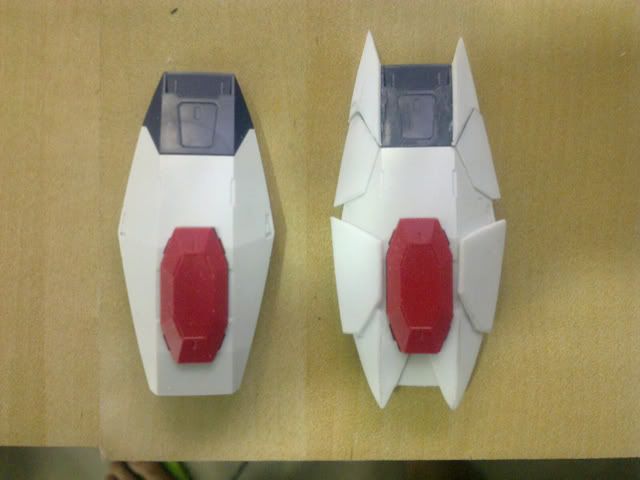
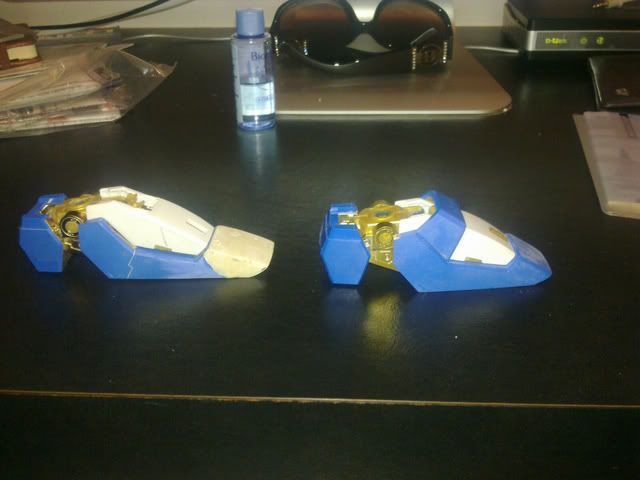
Before-After comparisons:
No comments:
Post a Comment